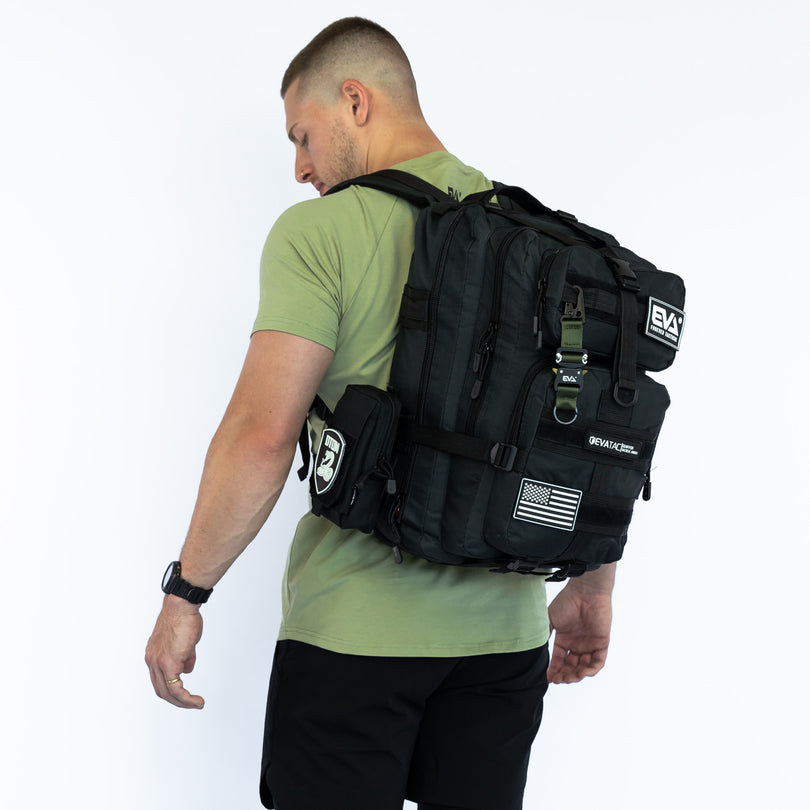
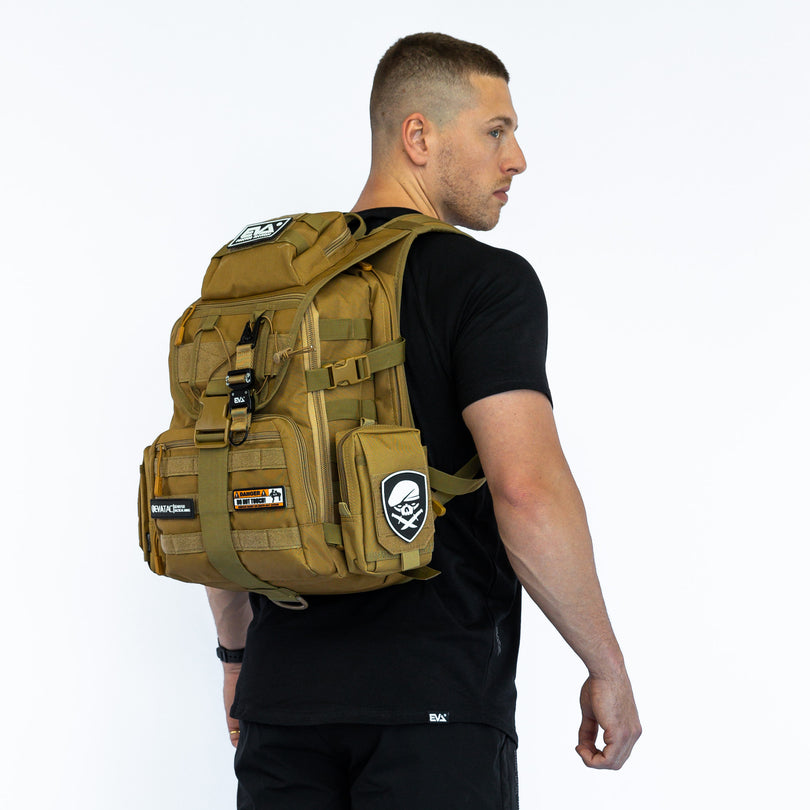
Are you looking for an easy craft idea? Or maybe you are in need of a quick repair on your favourite clothing piece. If you're looking for a new crafting project, patches are perfect because there are so many different shapes, sizes and designs that patches can be found in. Some can even be personalized to your liking.
They're also great for clothing repairs – not only have velcro patches been used for decades in the fashion industry, they actually work better than buttons or other types of closures because they are easier to take off and on as needed.
Regardless of what you need, one thing that can help is using Velcro fabric patches. Koala Outdoor is here with a guide that will give you some background information about what these patches can do and how to use them:
History of Velcro

There is some debate as to where the product Velcro originally came from and who actually invented it. The idea of using hook and loop fasteners for clothing was first discovered by Georges de Mestral in 1948. His idea was to make a closure system that would work well with outerwear, but would also be easy enough to use.
Despite this great idea, people did not immediately jump on board, likely because the system he proposed required a tiny hook and loop fastener on each piece of clothing, which was harder to manufacture than the larger versions that were available today.
In 1958, de Mestral patented Velcro and began producing the larger hook and loop fasteners that people now commonly use today. He originally named them "hook and loop fasteners".
How do you make velcro patches?
It all comes down to the two parts that make up the patch, the hook backing, and the loop fabric. Hook backing is actually made of thousands of tiny little hooks. Loop backing is usually made from nylon and cotton fabrics, each one twisted together to form a rope-like strand.
Step 1
The first thing that will need to be done is to cut the fabric into the shape and patch size desired.
Step 2
The next step after this would be to attach a backing material, such as cotton or polyester, onto the patch itself.
Step 3
After this, an adhesive will need to be applied to the backside of the patch that covers the entire area. Place the wrong side of your fabric onto the sticky peel n stick paper. Press gently but firmly all around on your fabric to smooth in place.
Step 4
Once this is done, heat will need to be applied and allowed to sit for a few minutes so as to allow the glue time to appropriately attach.
Step 5
After this step has been completed, you can attach your newly made velcro fabric patch onto whatever it is intended for. Resize and make any necessary changes as needed to get to your desired patch size.
Velcro patches are very useful for many different types of repairs and projects, one of their biggest benefits is that they can be used to create custom patches.
Types of velcro patches
There are many different ways to use the patches. They can be used to fix rips in clothing, reinforce the closure on a piece of luggage, or hold together pieces of camping gear that need to be fixed quickly. Thanks to its hook and loop fastener design, it is easy to cut them into whatever shape or patch size you want for the project you are working on. Because they are so versatile, any time that you need to fix something or create a new DIY project, then a custom patch can be the perfect tool! There are common options for those that want to attach patches to your items:
Iron-on patches
Iron on patches can be a great way to quickly fix something that has fallen apart, but still, look nice. To put this together with velcro, you first need to cut your shape out of the fabric. After this, you only need to place the fabric onto an interfacing material and then put it through your iron for about 10-20 seconds. After the fabric has cooled down, you can then apply the patch to whatever material you like.
Sew-on patches
Sew-on patches are much more secure than iron on or stick on ones because they are sewn in with the fabric of the garment. These can be sewn directly onto the fabric they are going to be used on. They will not be able to peel off easily, however, if you want to remove it you will have to take a sewing needle and poke it through the loops.
Embroidered patches
Embroidered patches have never been out of style, a thicker embroidery thread style is used, which is stitched onto a base fabric by an embroidery machine. These are usually seen on uniforms, hats, jackets, and more. This gives the embroidered patch a unique dimension, thickness, and a classic look. Choose a embroidered patch today!
PVC patches
PVC velcro patches are made from a flexible and durable polyvinyl material that is applied to both sides of the hook and loop fastener by adhesive. They can be used for many different DIY projects and different kinds of repairs because they're very versatile.
Woven patches
Like embroidered patches, these woven patches are perfect for intricate designs. This style produces an incredible, clean graphic style that really makes the design pop. This is a great option when detail is important, such as with a motto, brand logo, images, or contact information.
These are great giveaways or souvenirs for clubs, sports teams, and businesses. Made with an adhesive backing or a Velcro strip, these patches are woven with tightly stitched threads that form a seamless image or logo.
Fusion
These can be sewn onto a garment and then fused with another patch to make the bond stronger.
Hook and loop tape
Often used for military and law enforcement, hook and loop patches have a backing that consists of tiny hooks and loops very similar to the rough side of velcro. This allows the patch to be securely connected to a soft velcro backing that is usually purchased in conjunction.
Stick on patch
These can be removed and reattached when needed. Stick-on patches are not meant to be a long-term solution for your clothing needs. They can come off easily and usually cannot hold up against constant wear or washing. They are a good solution for a quick fix, but they will not work for most clothing.
Dual lock patch
This is made by sewing pieces of hook and loop fabric together, followed by attaching an adhesive backing to make them stay in place.
Adhesive patch
Although these types of patches are not as durable as others, they are easy to apply. The adhesive backings are made from glue called fabric tac that is pressed onto the patch, overlaid with peelable paper to be removed at the time of application. Unlike stickers, the glue used in this patch is much stronger than normal sticker glue.
Understanding how this base material and backing systems are made will give you an advantage when creating your own patches.
How do you make adhesive patches?
Repairing a favorite pair of pants or shorts can be frustrating. Luckily, there is a solution that will let you still wear these while also letting you repair them. For this task, the best option is to use a heavy-duty velcro patch. This is a type of patch with an adhesive back and soft and rough sides.
The adhesive patch is made by first ironing on the glue to the backside of the fabric. Next, you should wait until the glue is completely cooled down before applying it to an object. Then, put one side of the velcro against this adhesive patch. The last step in creating your own adhesive patches is to stick them together.
What material are patches made from?
Patches are often made from nylon, rayon, or polyester. Nylon is a popular material to use because it can be washed and dried at high temperatures. It also resists water and ultraviolet rays from the sun. It is important to know what material will work best for your project.
In addition to these three materials, patches are also made from wool, cotton, polyester fleece, or Spandex. It is important to know about all the different types of materials before you begin your project.
How to clean velcro patches?
When cleaning velcro patches, it is most important to remove any loose bits of dirt or debris before attempting to clean them. This will not only make the cleaning process easier but will also restore the fastener's velcro’s ability to grip its target surface more effectively.
If there are no specific instructions included, here is how you can clean a velcro patch:
- Use cold water only (hot water will ruin the adhesive)
- Use a toothbrush; the stiff bristles are perfect for brushing out unwanted dirt – brush it to loosen anything that’s stuck between the hooks. Then remove any lint that comes loose with your fingers.
- Do not machine dry
- Do not bleach
What is the best material for making patches?
The best material for making a custom patch is a fairly stiff fabric that has some stretchability to it. If you are planning on attaching your patch to clothing, then you don't want the fabric to be too thick, or else it will add unnecessary bulk. However, if you are using your patch as a replacement for a piece of sheet metal on something like a car door, then you need a very stiff and durable fabric that won't stretch or rip.
Conclusion
Velcro patches are a great way to create custom patches, as well as fix your favourite clothing pieces. They can also be used for multiple other projects and repairs for items around your home. If you need a quick fix or an easy craft idea, use patches. With the right information, you can have a great time creating custom embroidery patches.
Koala Outdoor offers a variety of velcro patches that can help with any clothing or home repair needs. You can even find some in various colour choices and sizes to fit your project best.


